Blog
Drum frames and shells on the making
I am finishing a couple of contraptions so that I can make drum frames for big tambourines and shells for snare drums as well. Can’t wait to start. Let me know if you want one! Visit my webshop page.
VEL Segmented tambourine-rik
Xylophone will go for sale!
A while ago, I finished building this xylophone and put it to the test. I had some percussionists practice on it, and it has already been used in a couple of projects. I can say it's a success.
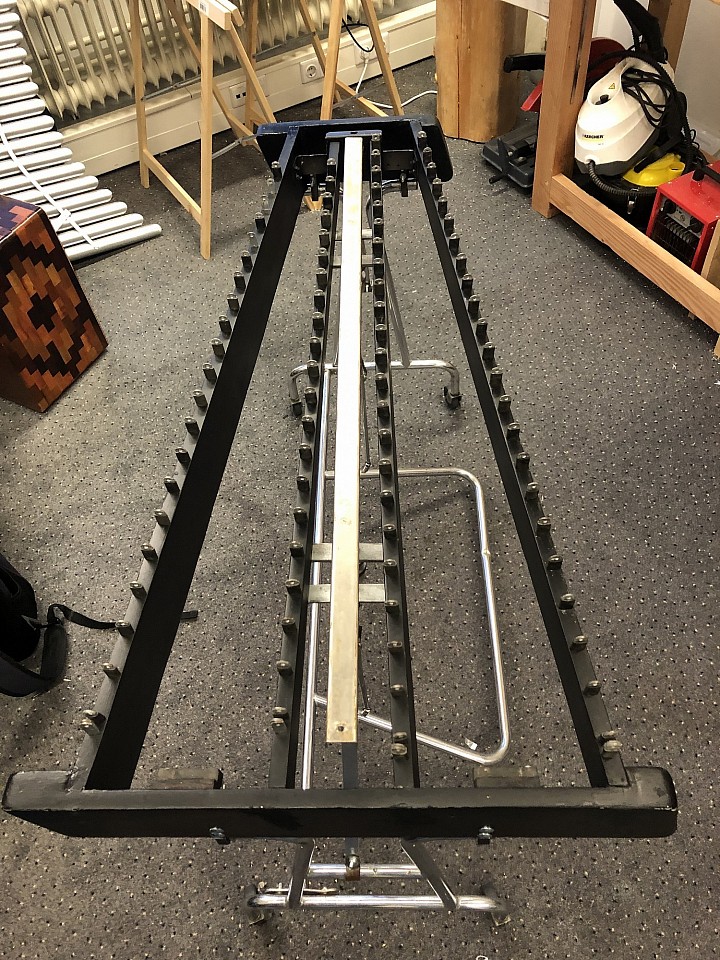
It's a regular 4-octave xylophone without resonators, made from Cumaru. I can already hear your thoughts: "But the best for resonance is rosewood!" That's true, but hear me out. This wood is actually tougher than rosewood. You can beat the crap out of it during passage practice, and nothing will happen.
The frame is made of beech wood, the posts are aluminum, and the side chord posts have a steel core covered with grenadilla wood.
Although it's a simple instrument, I think it's special. The keys are professional size, making it great for practice. The keyboard will never splinter—it's so hard you can barely hammer a nail into it. The lack of resonators also makes it more portable for gigs.
I am very happy with the results. I have some pictures, but I'd like to do a nicer photoshoot before putting it up for sale here.
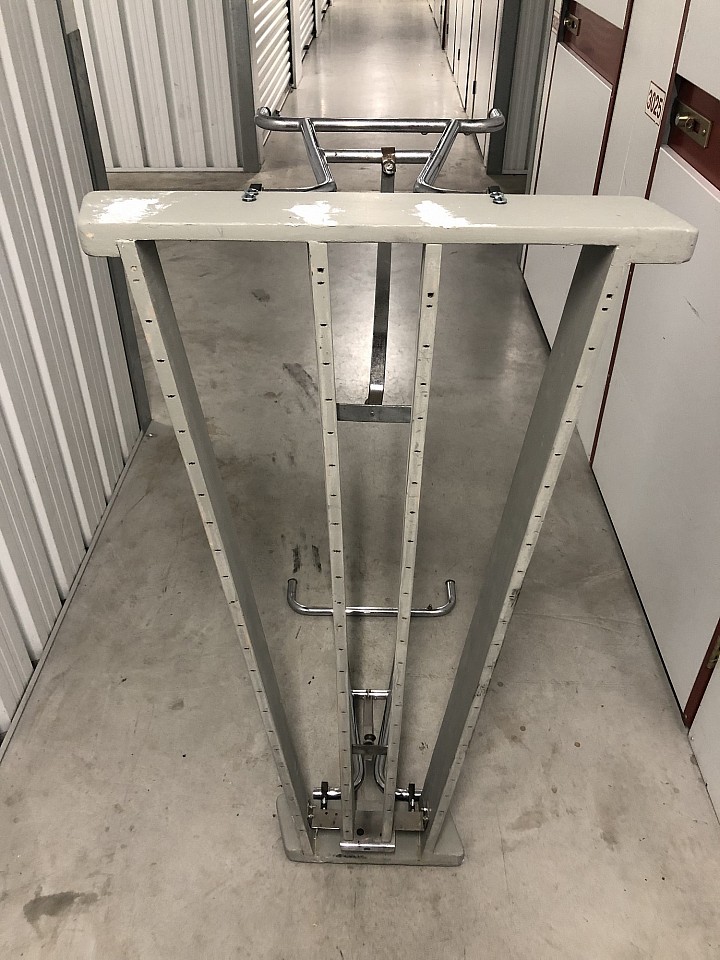
Retro-fitting a vibraphone.
I bought this old vibraphone Jenco in parts. All parts were there, but it was dismembered. The seller told me it was "too much of a project" for him, so he gave up.
I understand why. It was covered in rust, and he had tried to repair the frame using car filler and gray primer, which looked exactly as bad as it sounds.
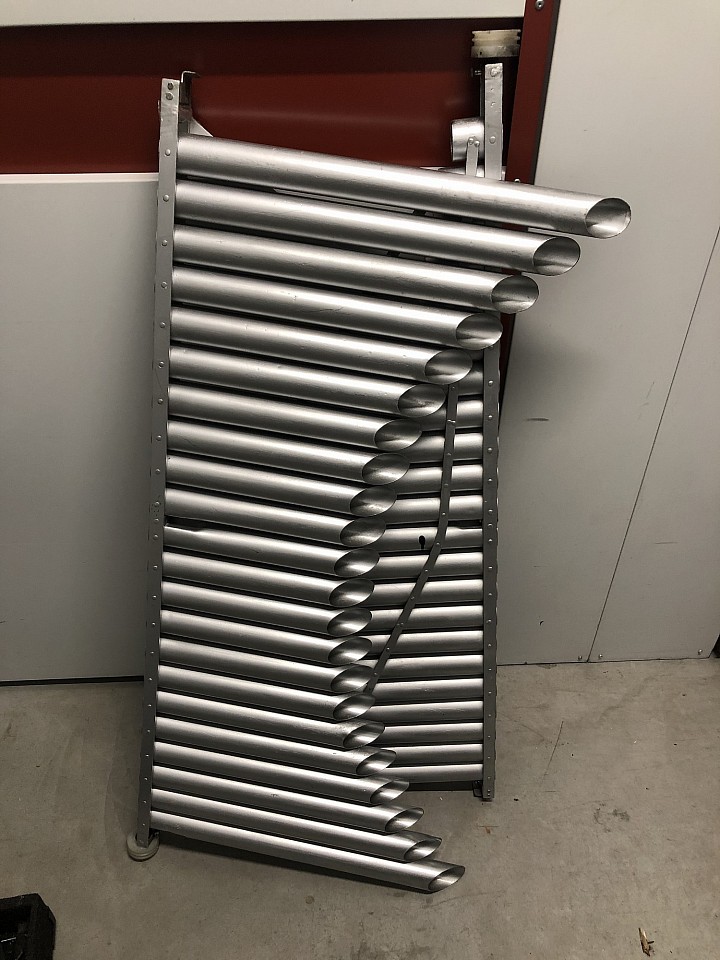
I decided to assemble it just to see how it functioned; I painted the frame black and gave it a play. It sounds beautifu! However, it comes with all the inconveniences of vintage vibes.
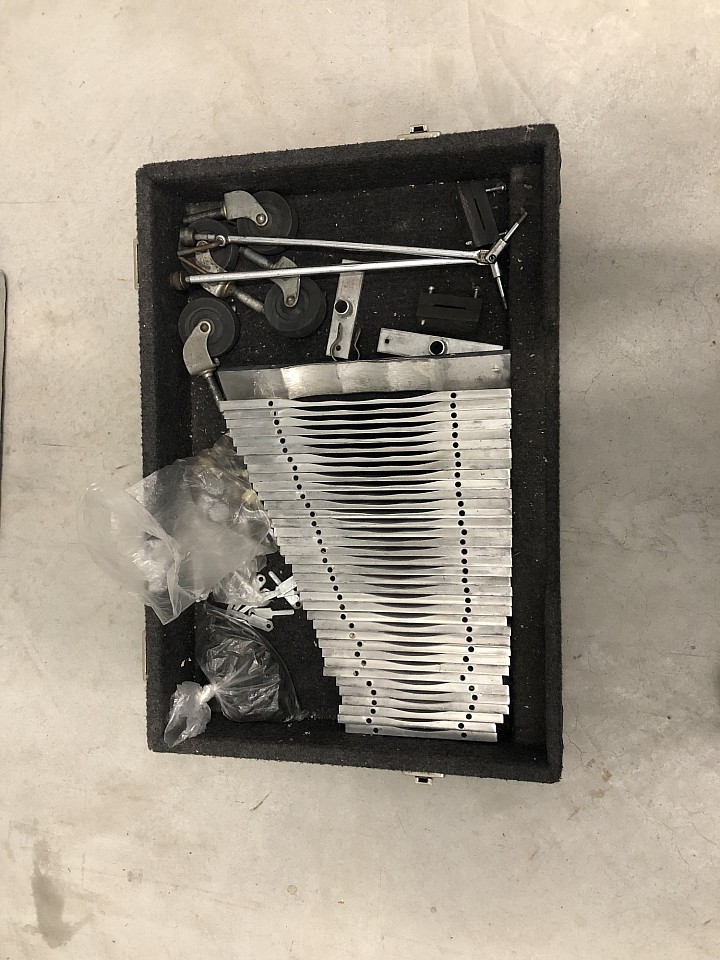
For starters, assembly is a total pain. It uses an old system where the posts only have holes rather than slots, meaning you can't remove the entire keyboard at once. You have to thread the cord through every single post and every single key, one by one. It takes forever.
Once I finally got it together, I realized some of the posts were dampening the keys. The posts aren't identical; some are slightly different, so you have to fiddle with them to find which post fits best with which key. To switch them, you have to take the entire keyboard off and put it back on every single time.
The pedal is another curiosity. It’s beautiful and has two adjusters, which is great, but it uses two springs pushing from the bottom of the dampener bar. They still work because they are compressed rather than pulled, but unfortunately, it isn't a very fast-responding system.
So, I’ve decided I am going to build a new wooden frame, replace the hardware, and modify the posts so the keyboard is removable. I’m also adding two extra spring post bars to the sides to give the dampener bar the "pull" it needs for a fast response. Wish me luck!